Log Cabin Rainbow Tummy Time Quilt
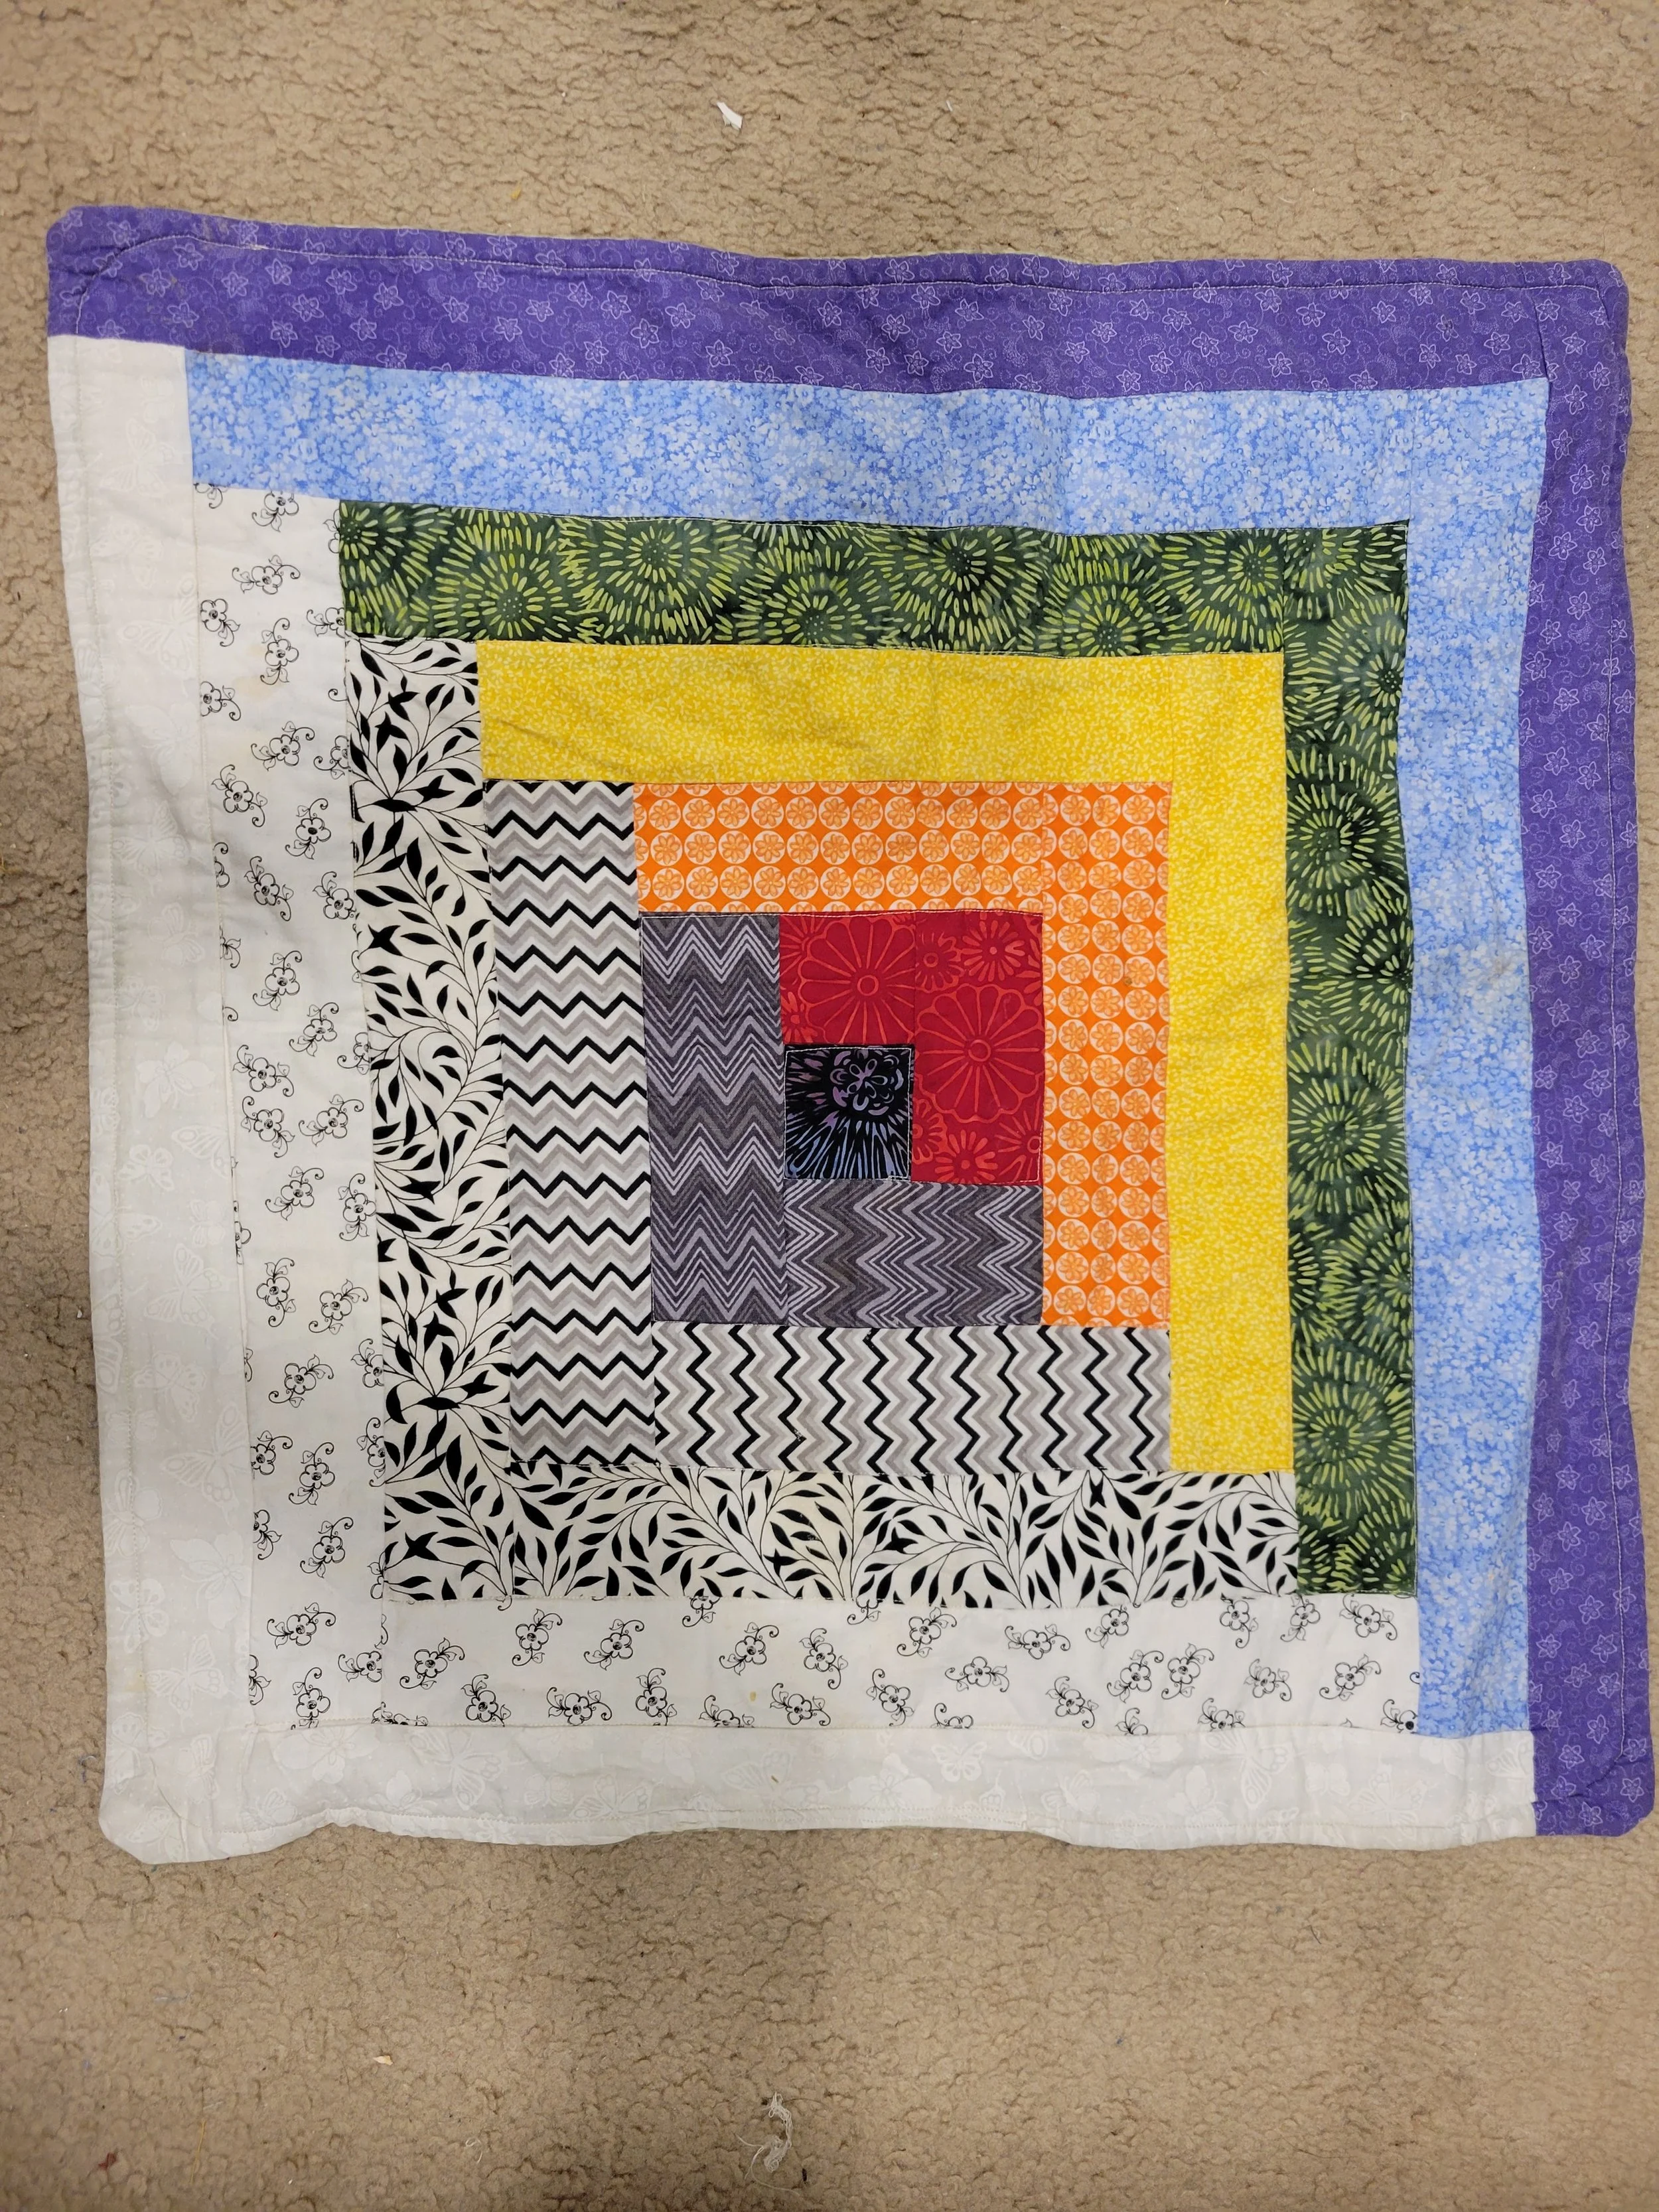
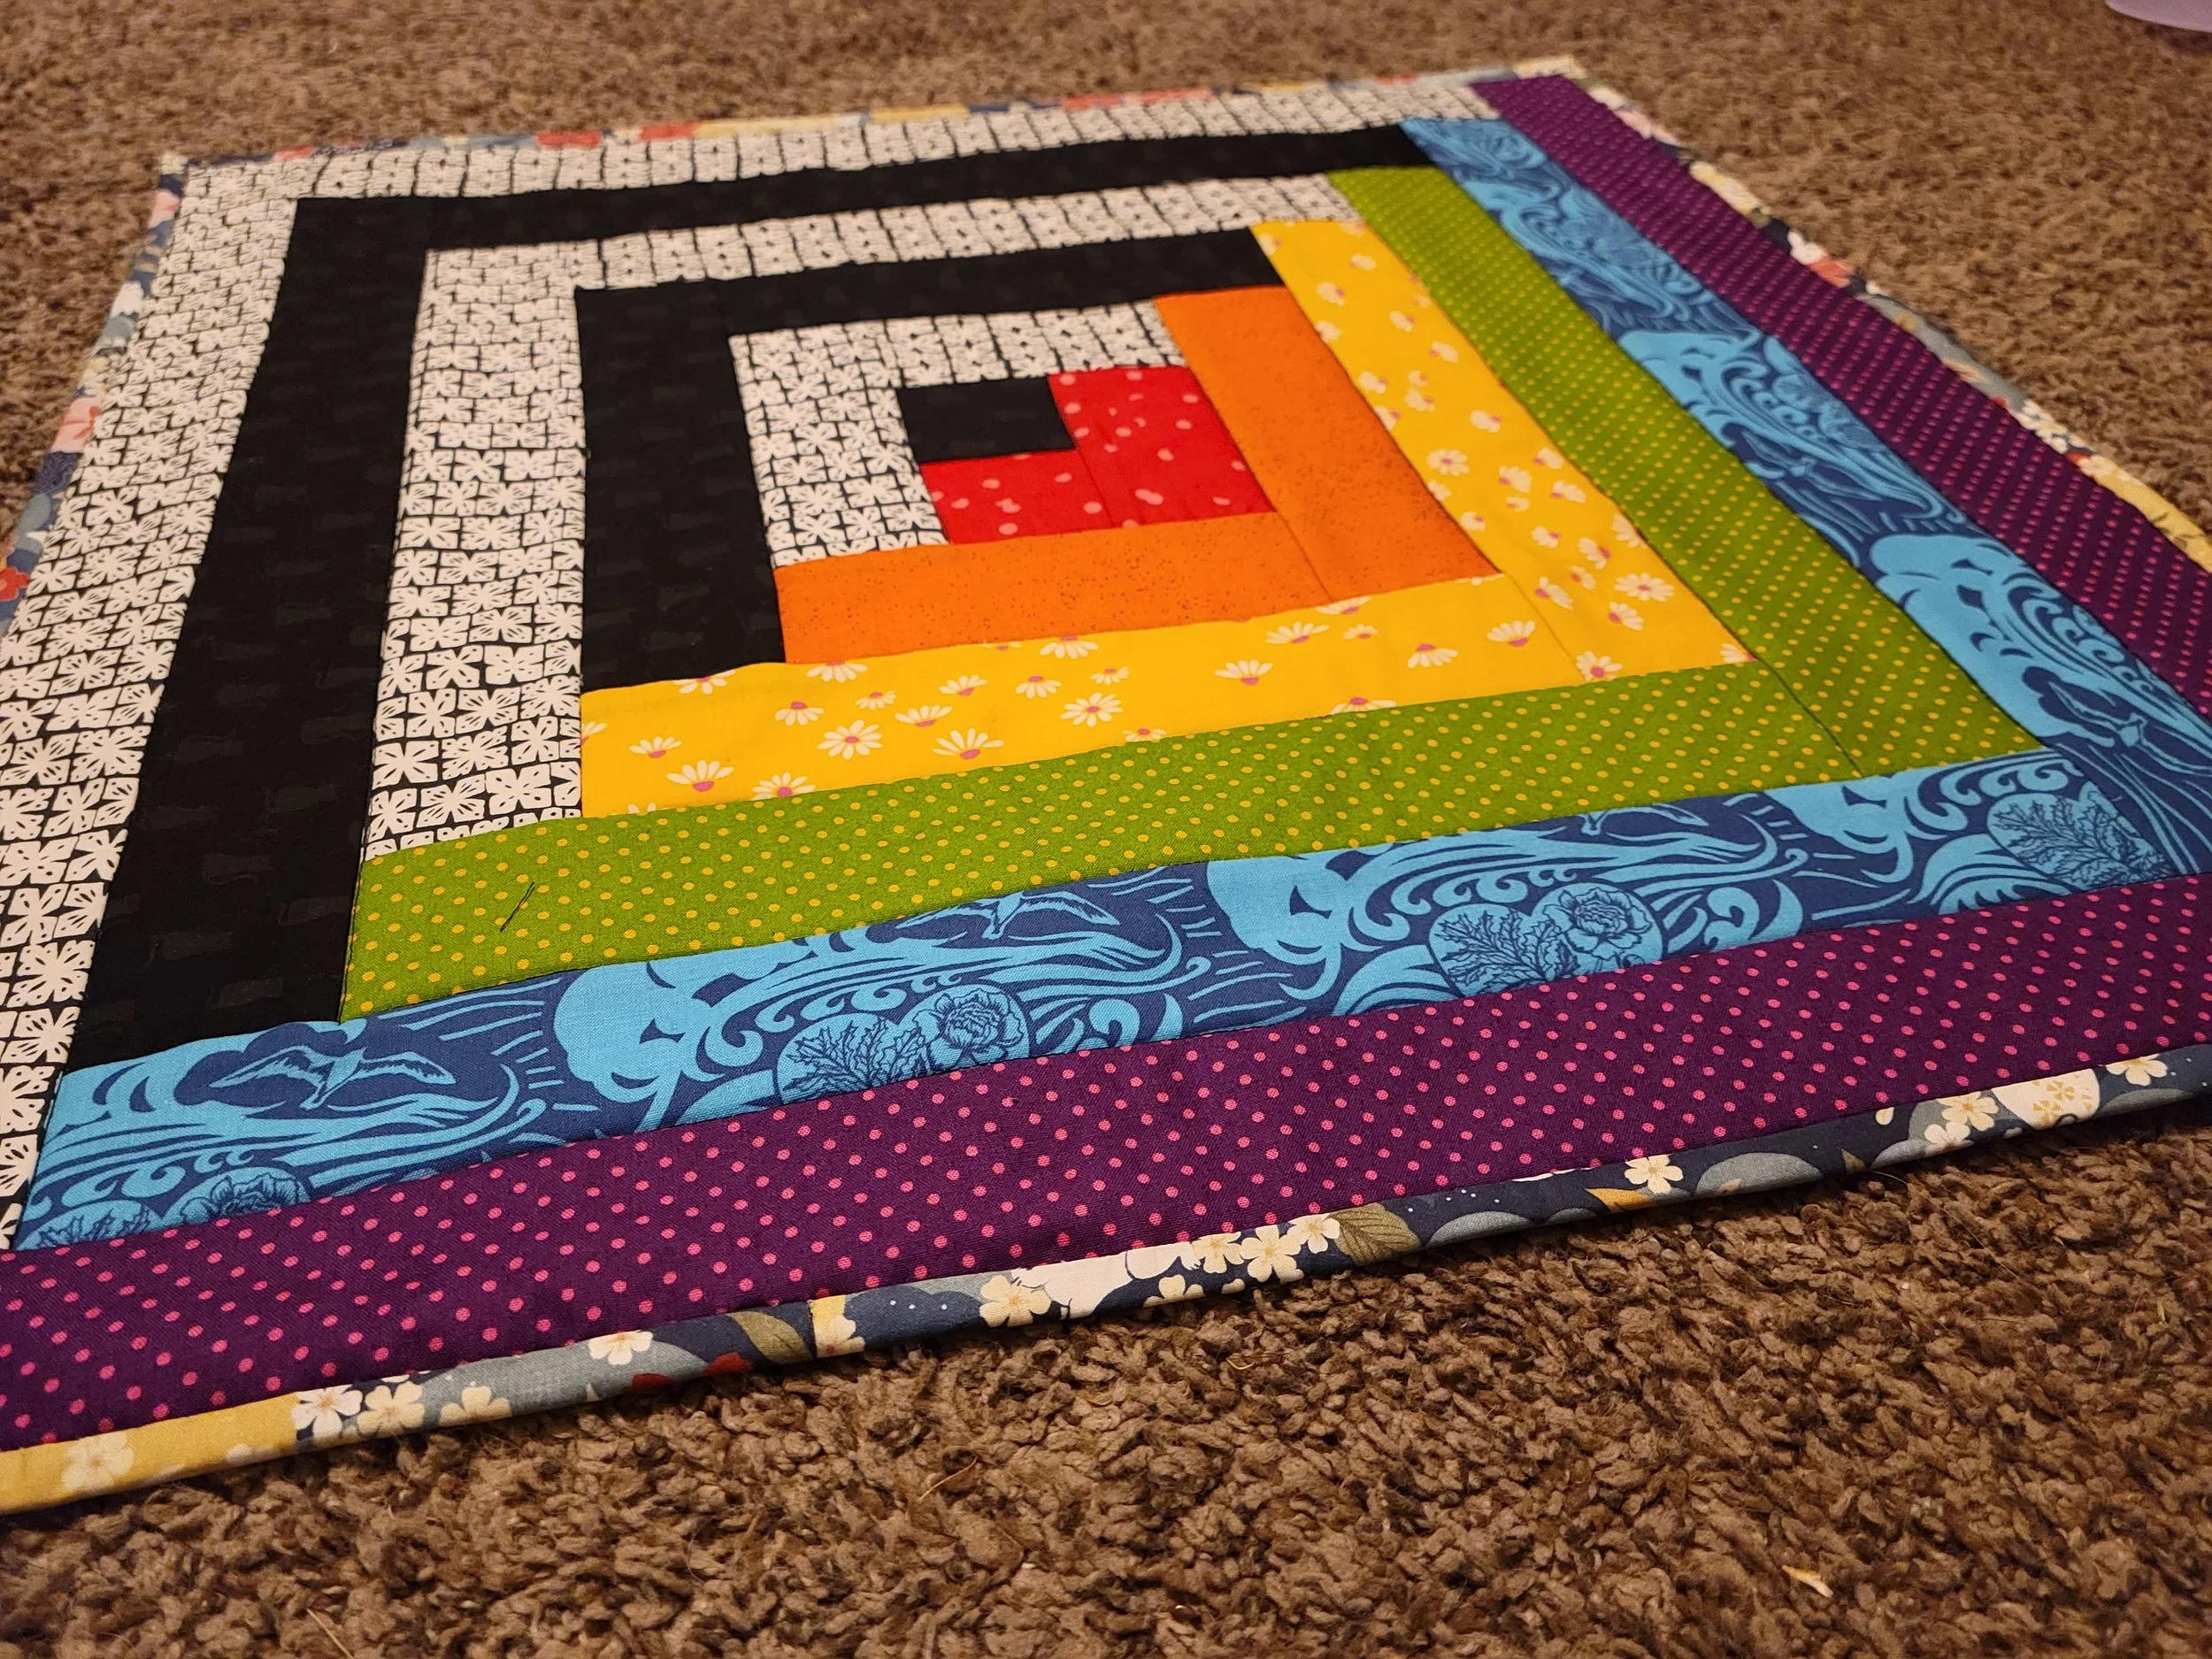
When my older daughter was born, my friend sent me one of the most precious gifts I received: a hand-made tummy time quilt designed for little babies’ enjoyment with high contrast black and white on one side and a rainbow on the other. Many happy memories were made on that quilt, and so when friends and family had little ones, I wanted to pass forward the gift with my own version of this handy play mat.
The quilt is based on the basic log cabin pattern, in which you attach longer and longer strips spiraling out from the center to make a square block, which is usually then attached to other blocks to form a larger quilt top. In this version, however, the complete log cabin block is the entirety of the quilt, measuring 24 inches square. If you aren’t sure how a log cabin quilt is constructed, here is a helpful guide.
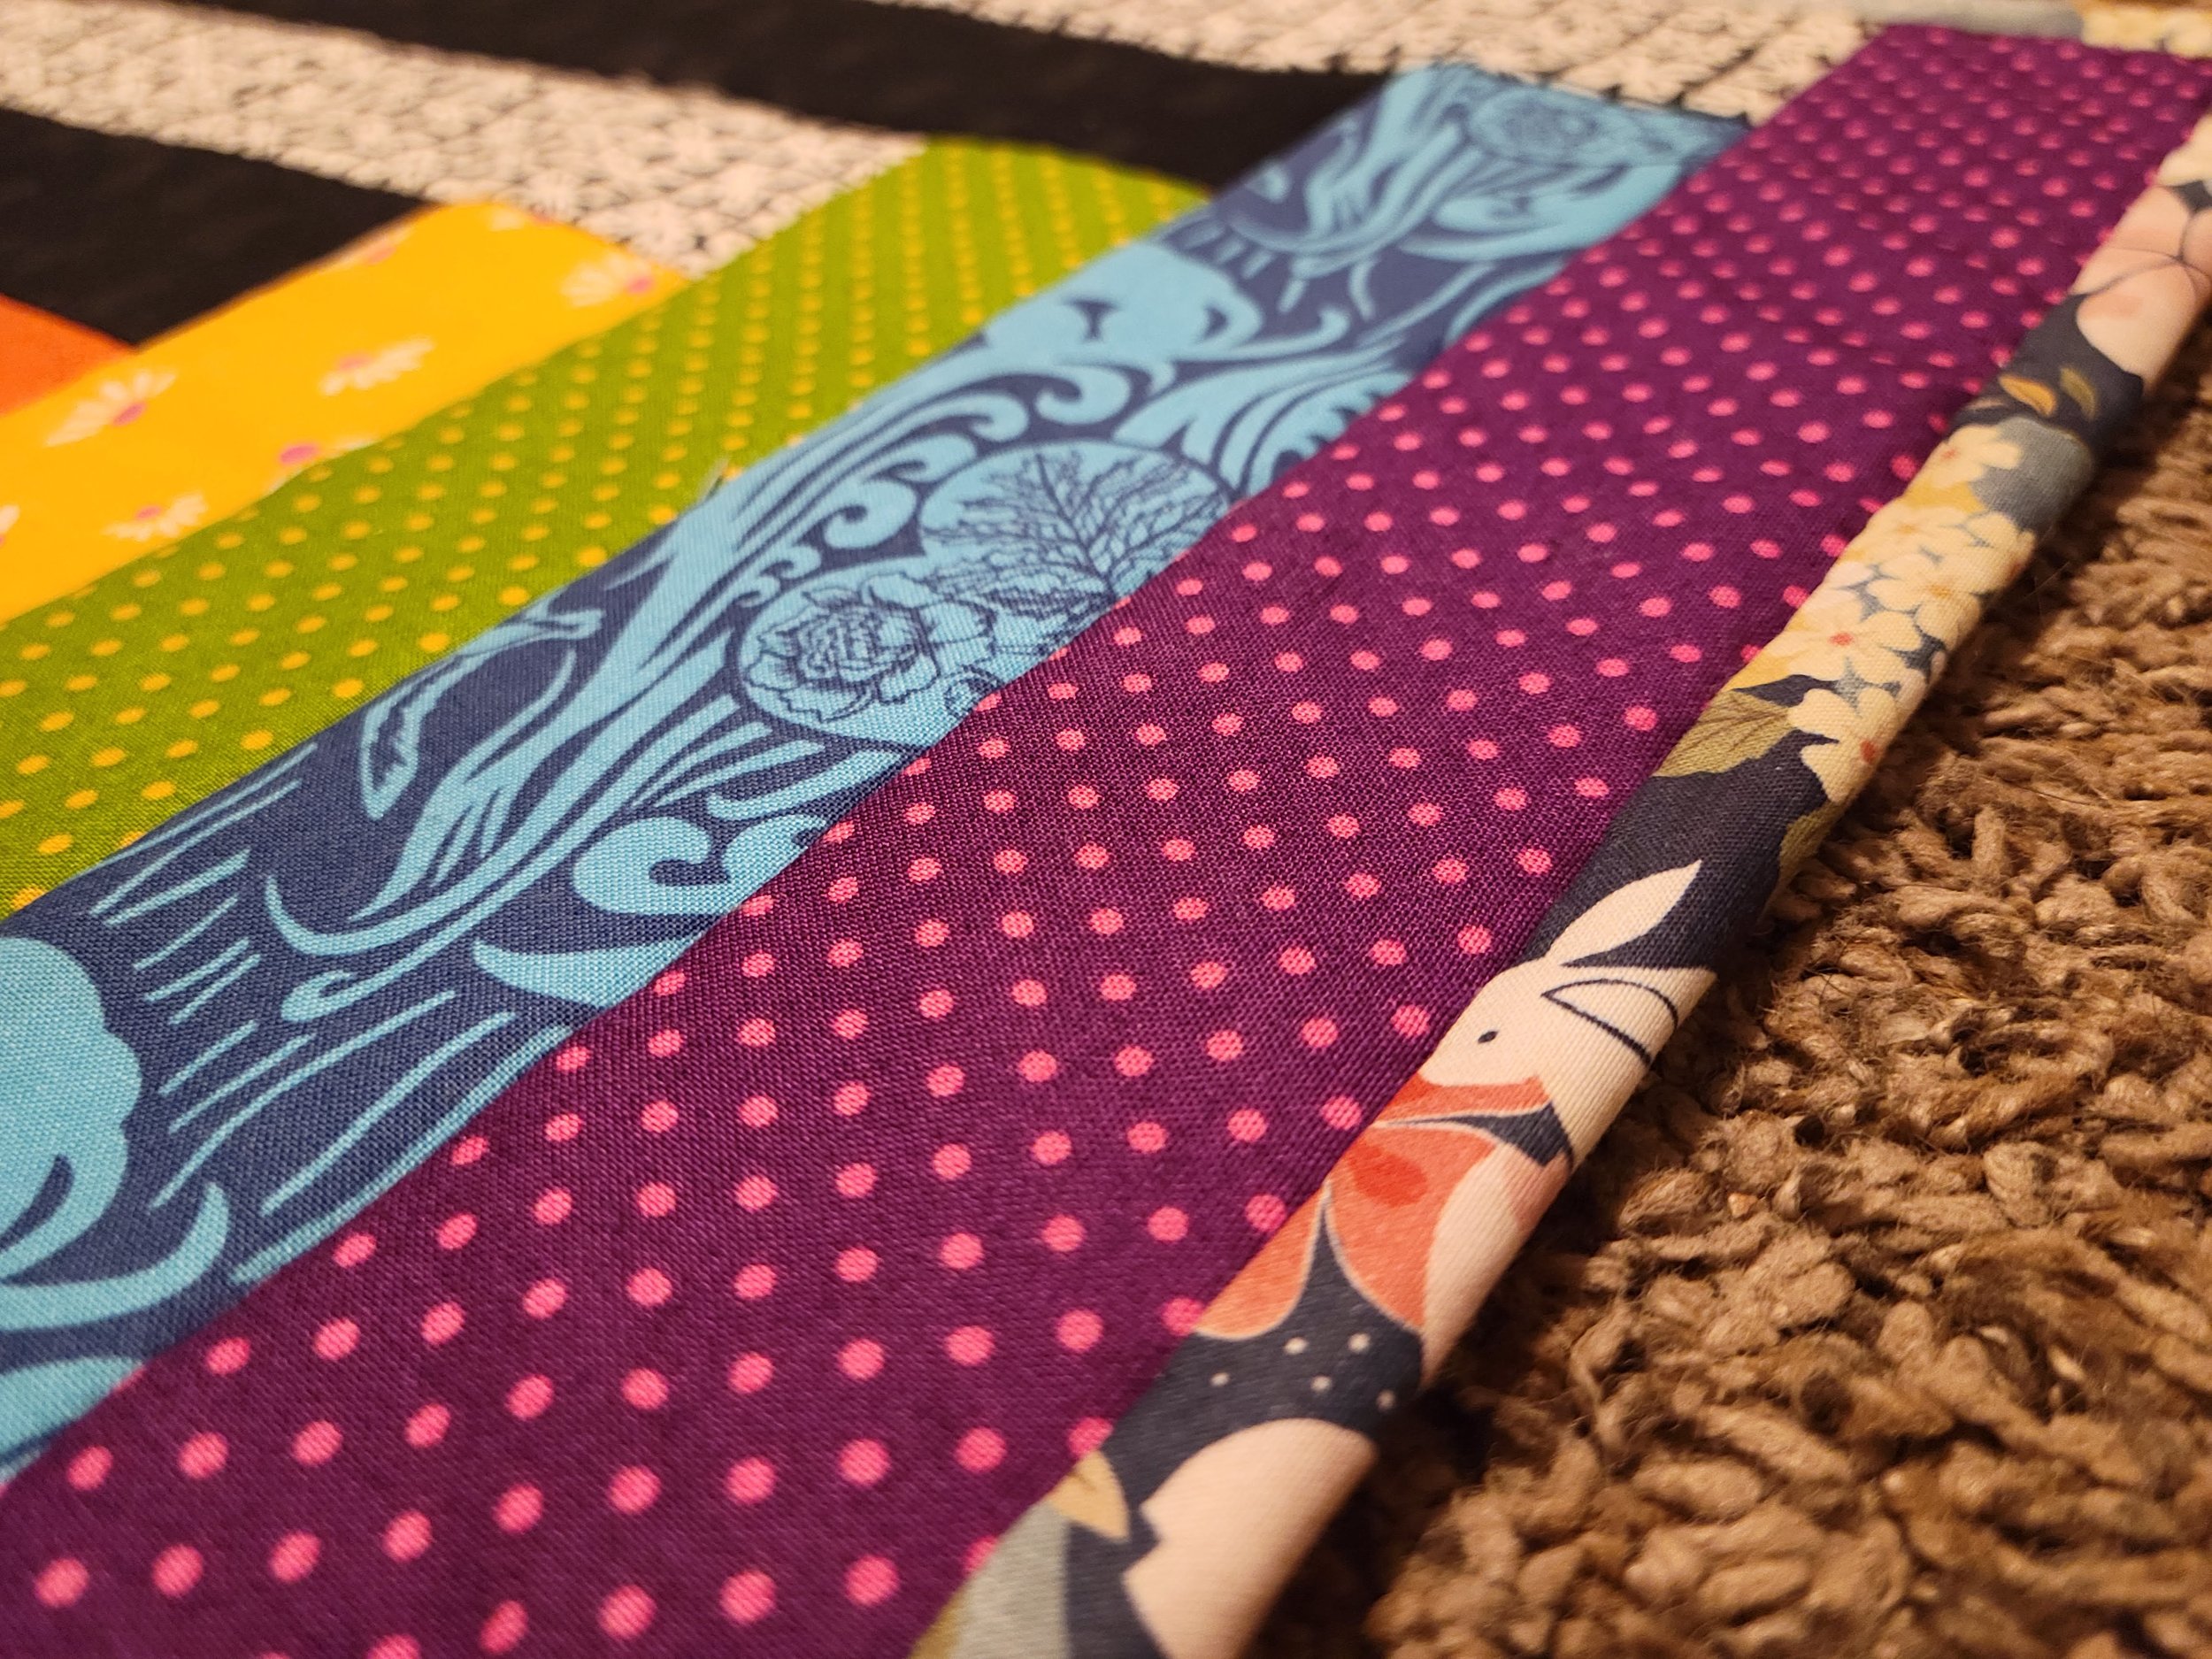
My version of the quilt
The original tummy time quilt gifted to me
To complete this project, I purchased a 1/2 yard each of a “black” and a “white” fabric. I chose quilting cotton that had a pattern on it so that it was more visually interesting while also reading as “black” or “white”. I purchased a 1/4 yard each of red, orange, yellow, green, blue, and purple, though you absolutely will not use anywhere near that much for the smaller colors such as red and orange. I ended up using them again when I made a second quilt, so they aren’t going to waste, but you might prefer to find a smaller cut for most of the colors.
Sewing and cutting guide for quilt
All pieces were cut to 2.5” inches wide and sewn with a 1/4 inch seam. This should result in a quilt that is 24 inches square, so adjust the width of your strips if you would prefer a larger or smaller quilt. I created a chart of cutting lengths and sewing sequence to guide me, which I have included here for anyone who would like to recreate this.
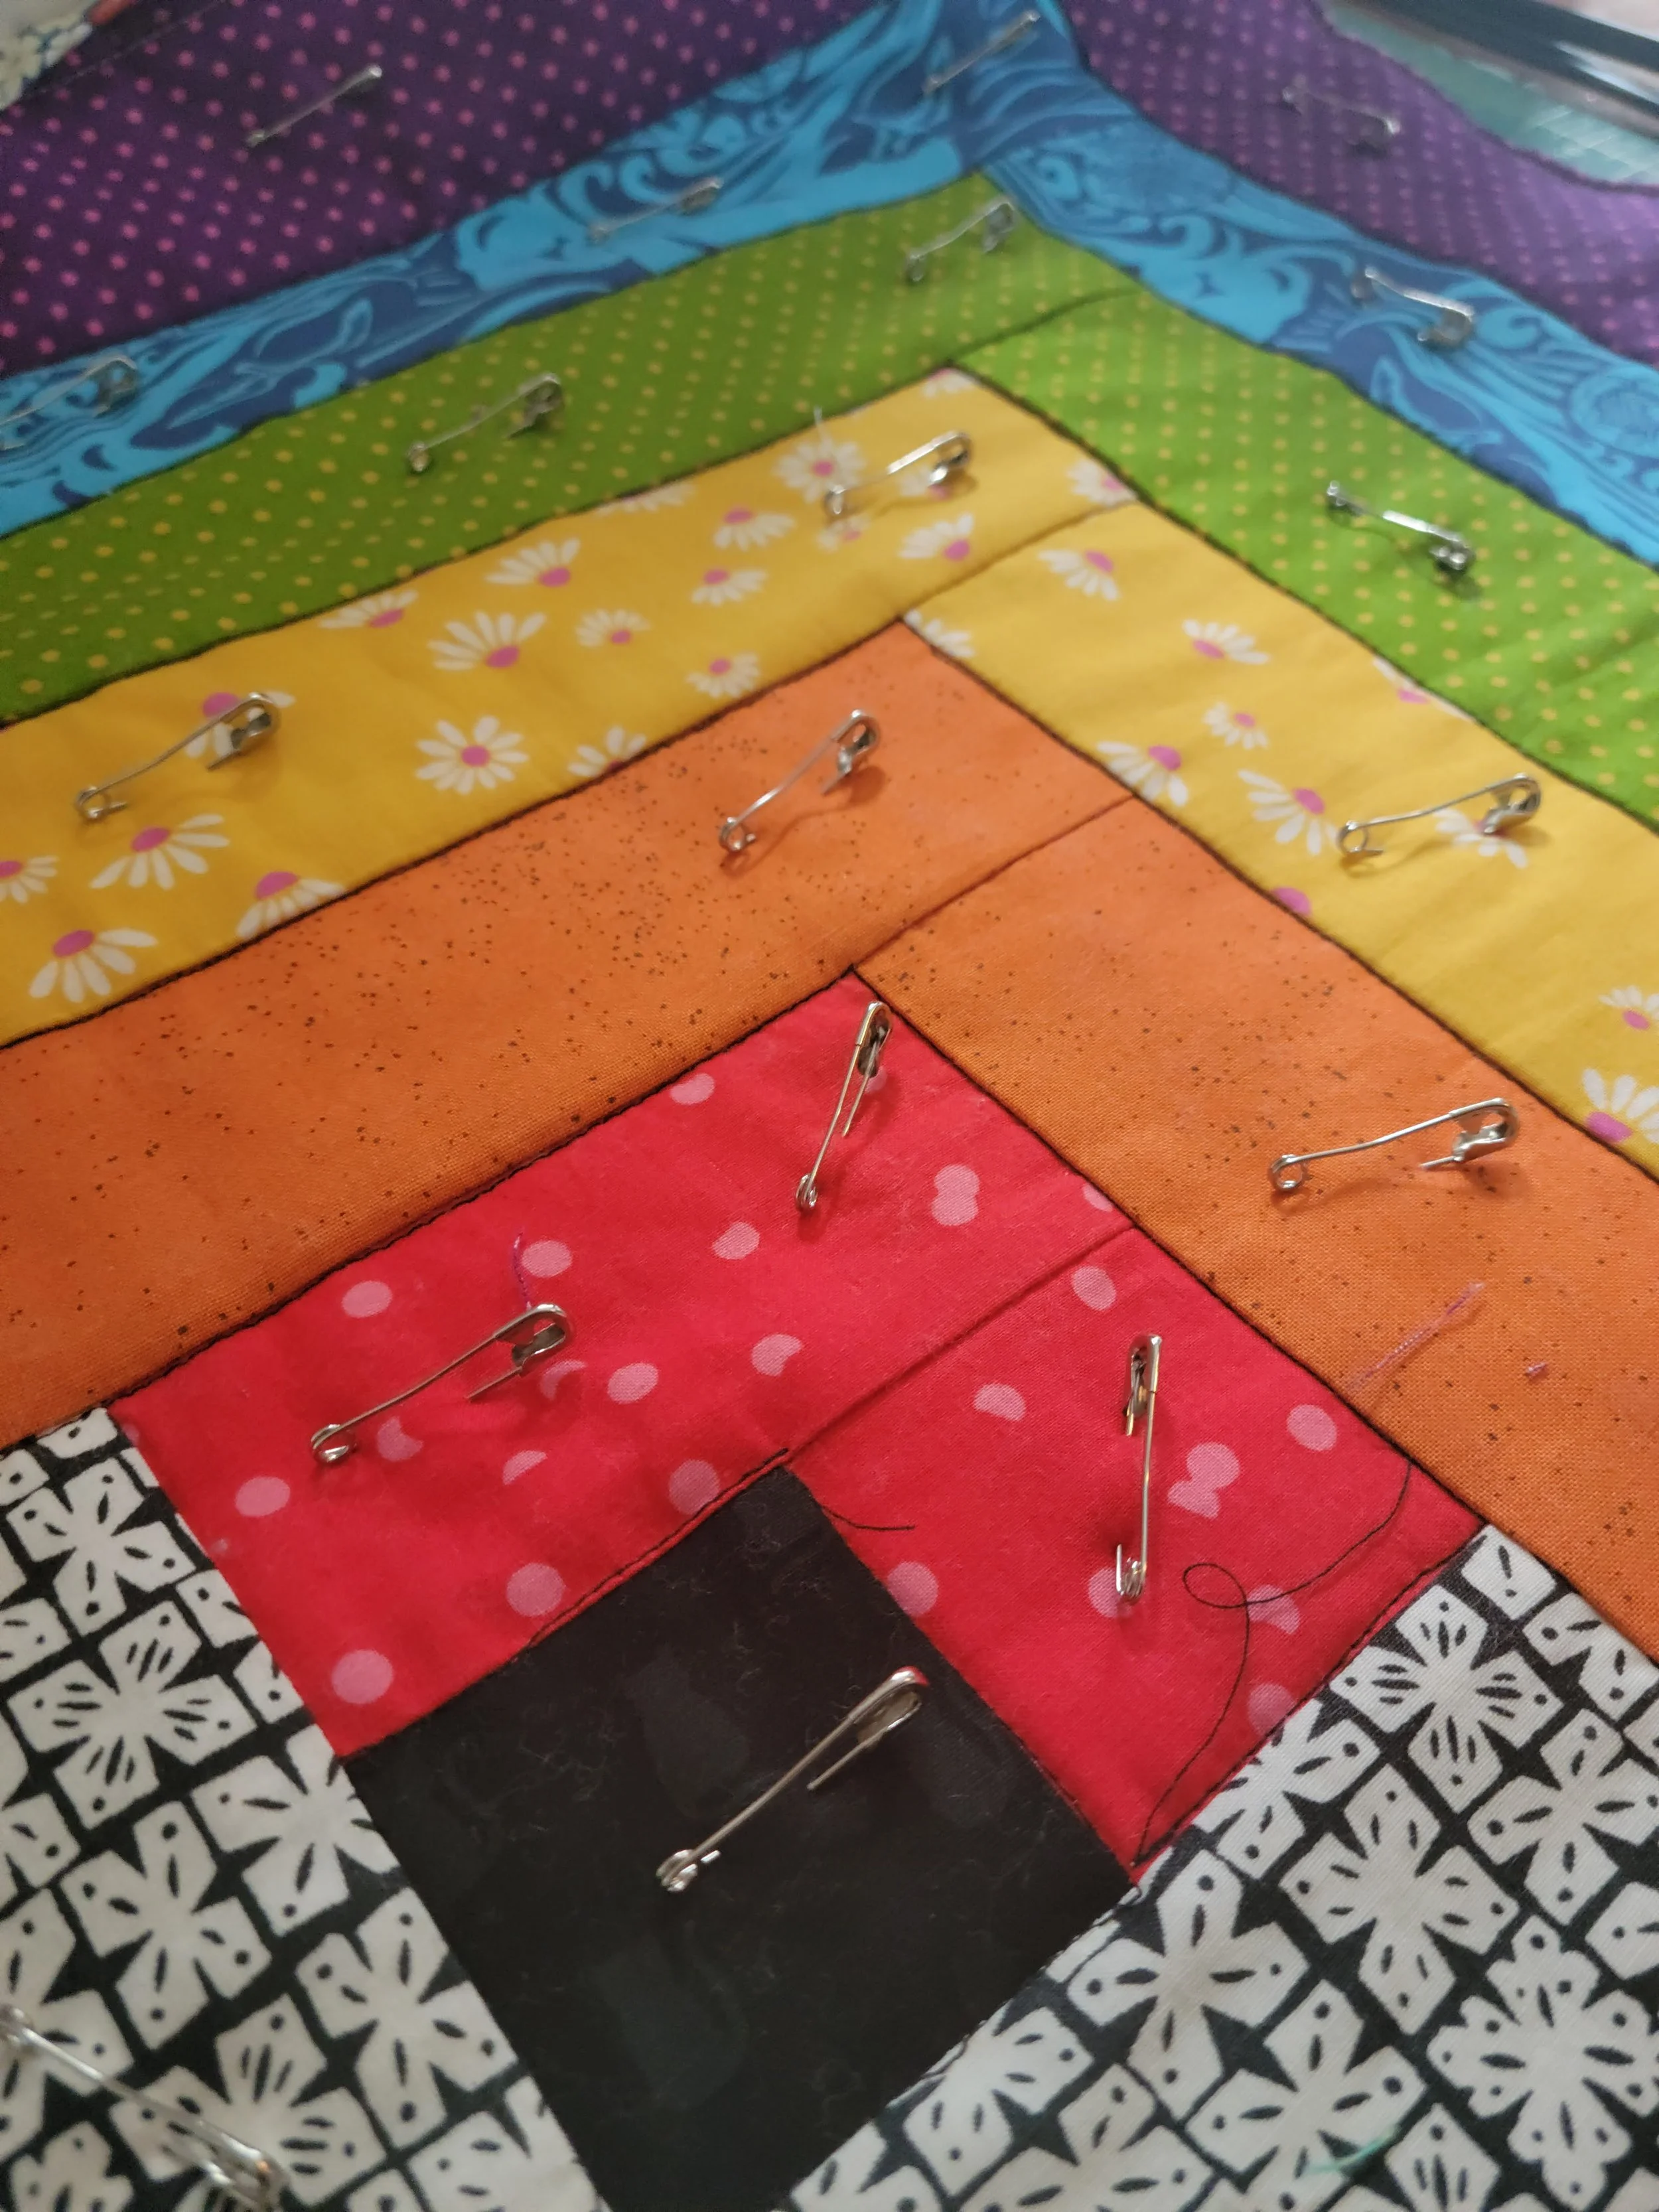
Sandwiching the layers together for quilting
After the log cabin top was complete, I layered two pieces of cotton batting in the middle of the quilt sandwich for extra squishy comfort, pinned it all together, and machine quilted it by stitching in the ditch. The first time, I used a regular foot, but the second time I had a special foot for stitching in the ditch, and wow! That made things so much easier. Highly recommend!
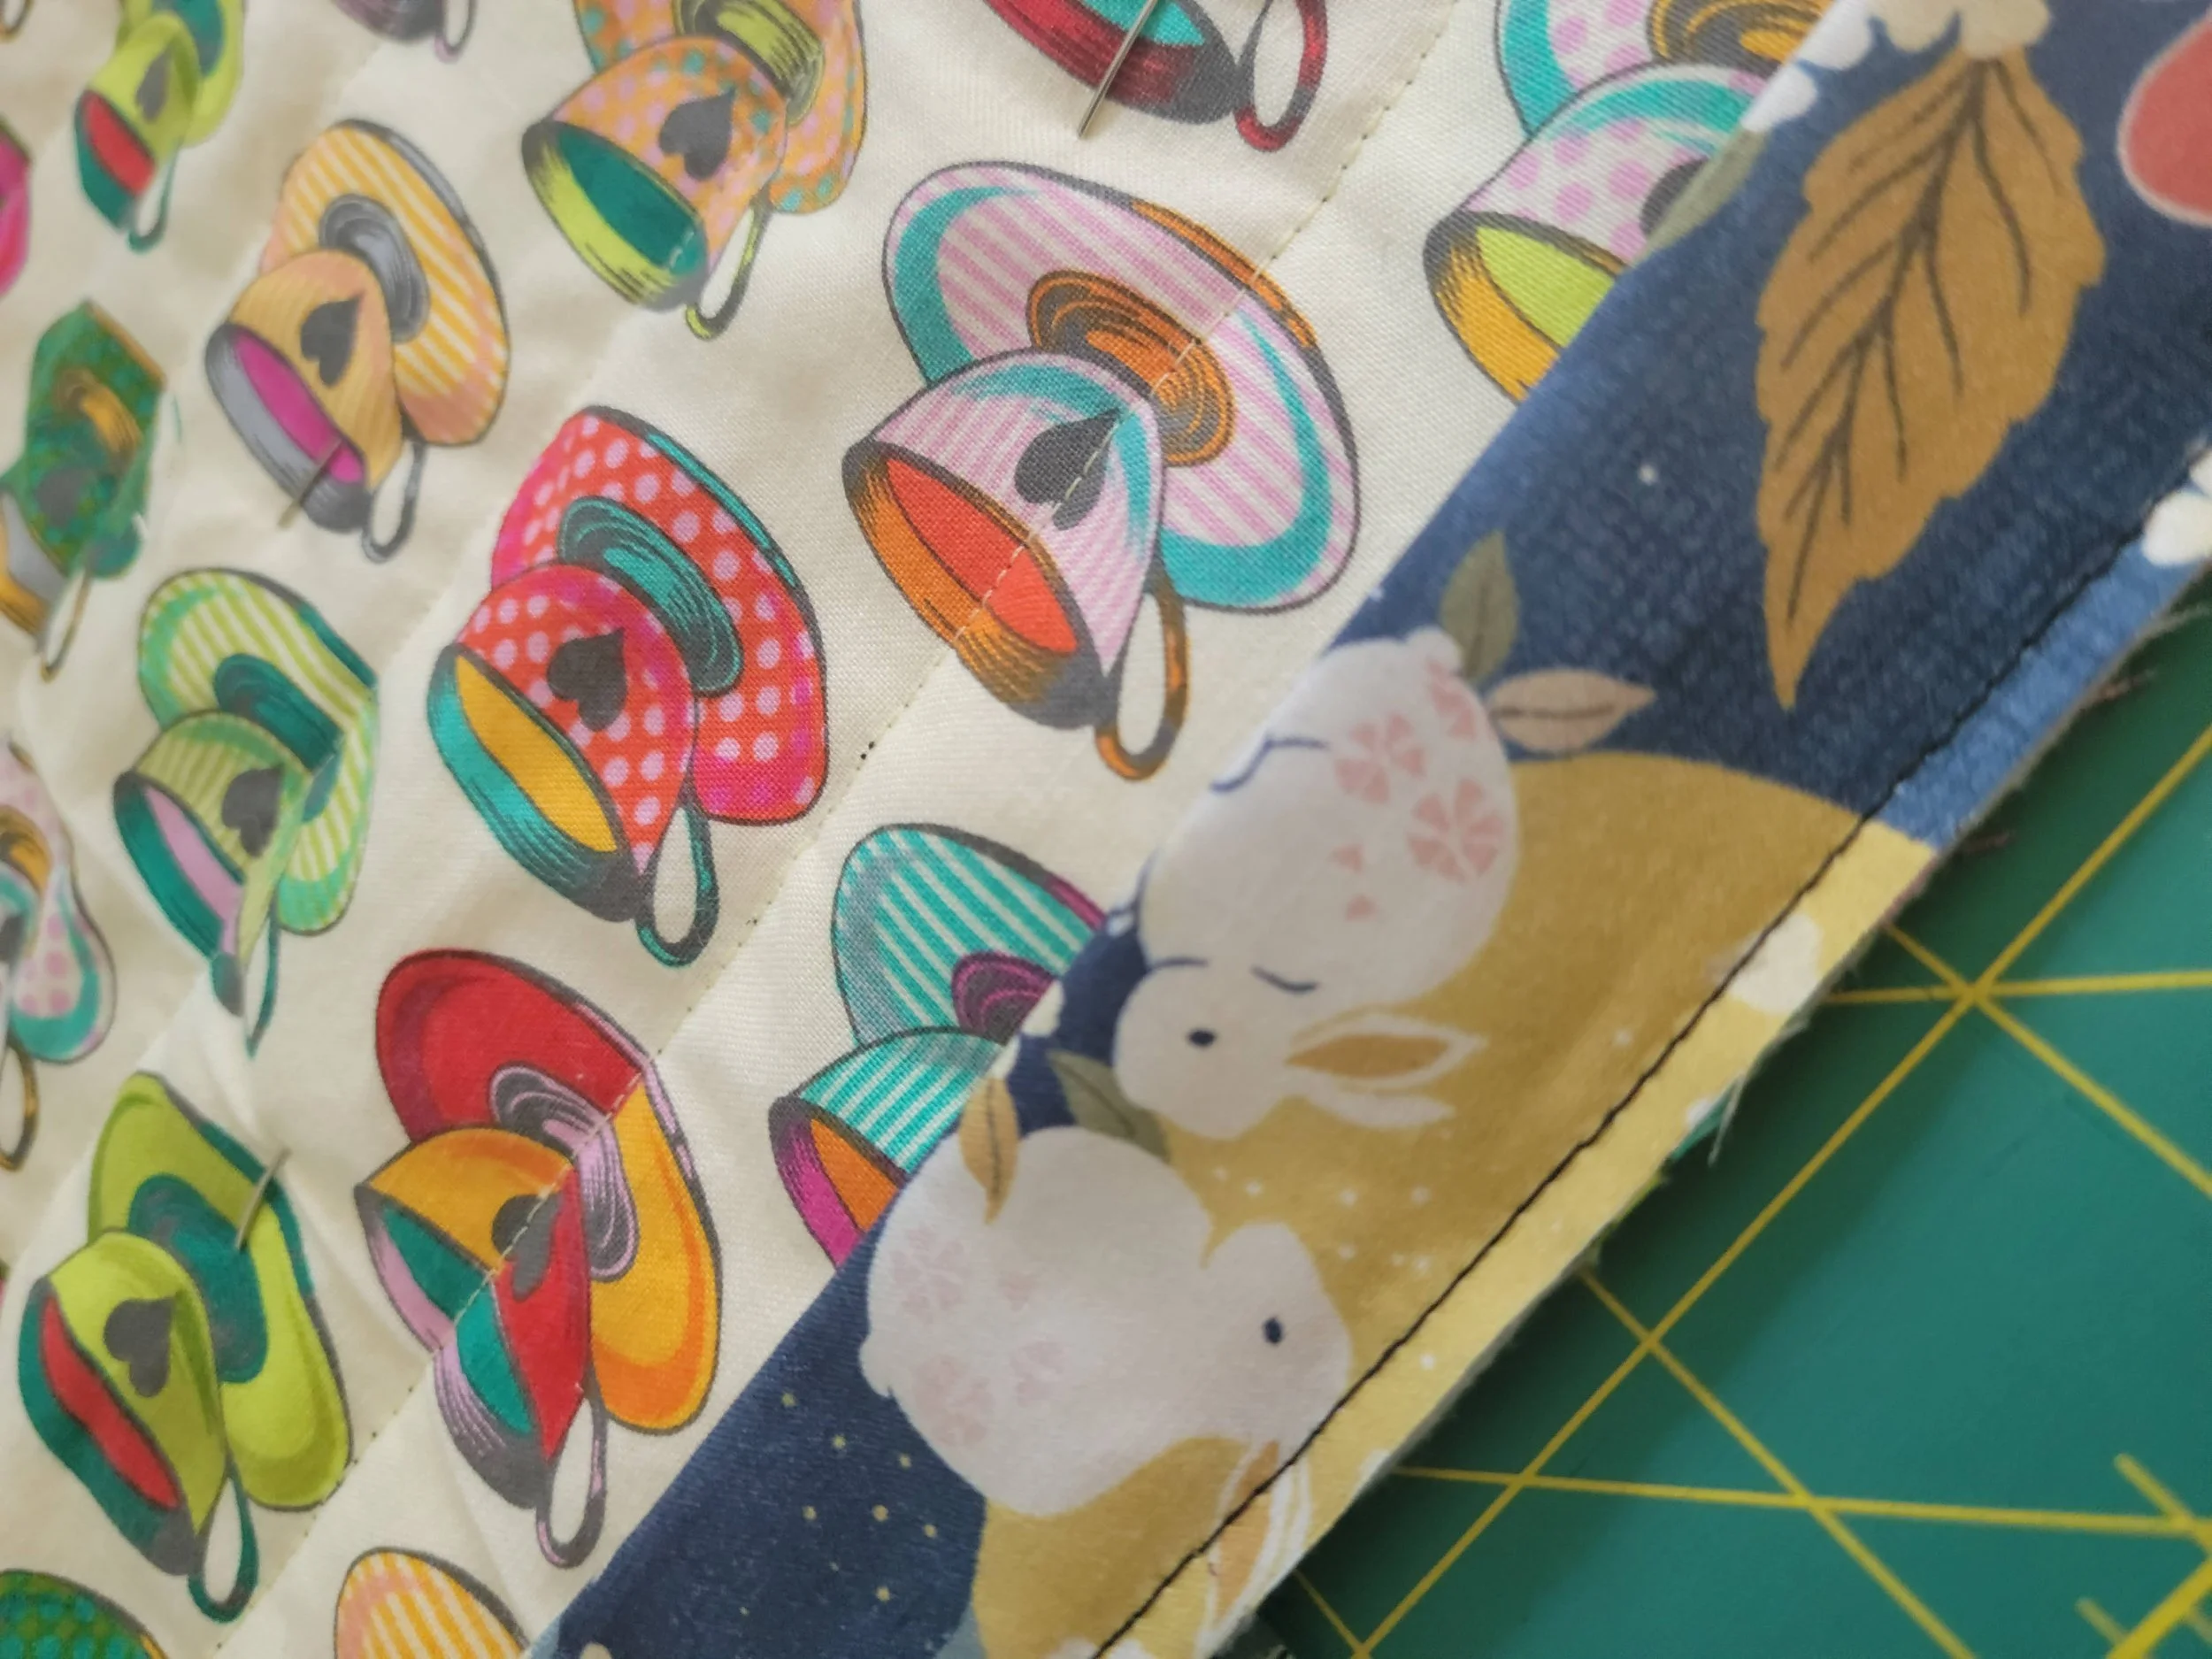
Fun teacup backing with bunny bias binding
I added self-made bias tape around the edge to enclose everything, which yeah, it’s a hassle to make the tape, but it adds such a cute detail to have the unique touch of a fun pattern, so I recommend it for this pattern, especially since you need very little bias tape for a quilt this size.
In short order, a cute and useful gift for a new baby! As it’s all cotton, it is easily washable, and folds up small for traveling to new places. If you make one, I’d love to see it!


